I read books on coupon organization and started using a plastic shoe box with a top to store my coupons in. I still was using the index cards to divide the categories and took it with me everywhere I went. The problem with that was some coupons were too big, I didn’t have enough room for my sale circulars or the top coming loose. When it got dropped papers went everywhere and I had to fix it back up again :-( The last thing I tried was a plastic clear square box with a top that locks in place. I thought I would never ever need another coupon system again until I came across the coupon binder system.
I instantly fell in love with the setup. I love anything that has to do with organizing stuff and this was a project I could not pass up. I posted my coupon binder after it was all finished but it was brought to my attention I needed to update it and was asked to do a tutorial. I gladly accepted the challenge. FYI: You won't find that earlier post here because I took it down. Since I have much to cover I decided to break it up into different parts so the post would not be extremely long. That’s why this is part 1. Here are pictures of my binder I’ve been using the last 5 years:
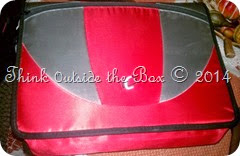
This is what my binder looks like on the outside. I bough it at Walgreens in Sept. 2009 for only $20.
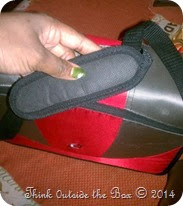
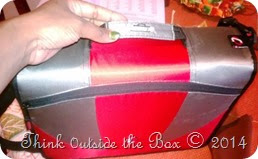
I love that it comes with a padded shoulder strap and a hand held strap to give you more than one way to carry it. When my hands are full I can put it on my shoulders and move right along.
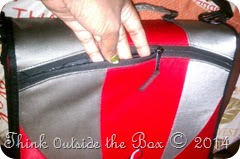
Here is a little zippered pocket on the outside to tuck something small out of the way.
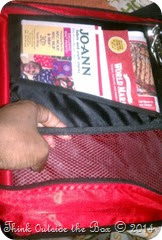
When I open it up this is the first thing you see. There’s a pocket that I use to store some sales papers or my store list. The little netted pocket I use to put the coupons (will cover these later) I’m using to the side so they are handy once I get to the checkout counter.
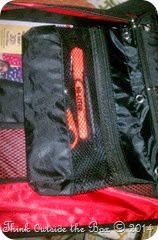 In this pouch I keep my scissors, pen, highlighter (will talk about this later), small pad for your shopping list, and a small calculator (not shown). Keeping these things handy are a must. We are organizing so these are things you will need for things to run smoothly.
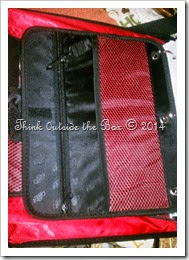
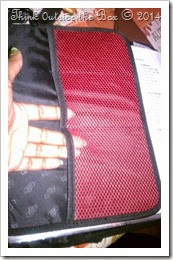
The next thing you’ll see is this part where there’s a place to hold some keys, a zippered compartment, and 3 netted pockets. I use this part to hold things like over-sized coupons, deals, Bed Bath & Beyond coupons or just anything I need a place to store something.
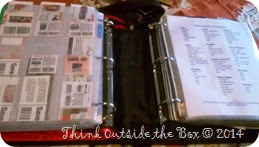
I love the way this binder opens/divides into two sections. I will tell you what’s in each on my next post.
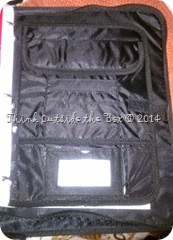
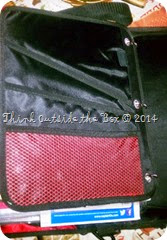
The back of the binder has a Velcro pocket and a place underneath to write your name and phone number on it. This is very important because if you happen to leave it somewhere someone may be nice enough to take it to customer service or contact you to get it back to you. The back side has a pocket and a net one too. Everything can be kept nice and neat with little risk of losing anything. That’s why I love this thing. It has so many compartments to store stuff. You won’t run out of room or places to store things. Now that you’ve seen my binder in part 2 I will get into how I got organized. Hope you come back to see and learn more.

No comments:
Post a Comment