6 Tbsp. Bentonite or Rhassoul Clay
2 Tbsp. EVOO
2 tsp. Jojoba Oil
1 tsp. Extra Virgin Coconut Oil
Liquid: Water, Apple Cider Vinegar (ACV), or Rose Water
Use only non metal measuring spoons and bowls for making this mix. You don’t want to mess up the minerals in the clay so be careful. Also be careful not to inhale the clay when you open the container. I hold it as far away from my face as possible when pouring and mixing. Before you get started applying the clay you'll want to wear an old T-shirt you don't mind messing up.
Put the first 4 ingredients in a plastic bowl. Add your choice of liquid and stir everything together with a plastic spoon. Keep adding liquid to it until it’s like a pancake batter. If your hair is short you can half the ingredients to make less.
Note: you can use water for this but I prefer ACV or AVJ because it raises the pH balance which is good for my hair. Here is how I apply it….
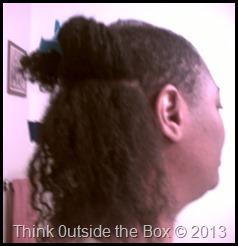
First I take out a section of hair and put the rest up in butterfly clips.
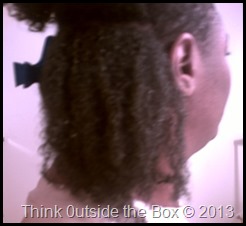
Next I spray water on that section to get it wet to work with. It’s better to put the clay in when hair is wet than when it’s dry. Believe me you’ll be glad you did.
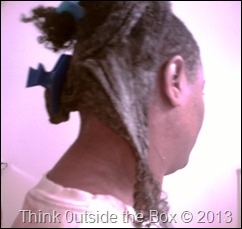
Now I apply the clay with my fingers being sure to get the section evenly coated. I have not applied it all the way down my hair shaft so you would see what it’s doing at this point. Notice how it makes my hair look straight and stiff. That’s why it’s better not to apply this to dry hair.
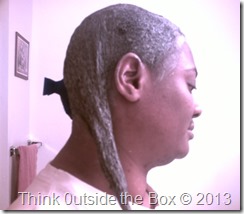
As you can see this side is all done now so it’s time to finish up.
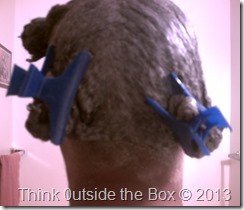
The clay is all in and I still have a little left over. I’m not one to waist anything so what to do with it now? (I’m sorry I didn’t show a pic of how much was left in my bowl).

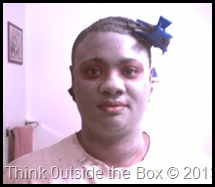
I splash on some water and I apply the remaining clay to my face. I’m ready for a night out on the town. LOL

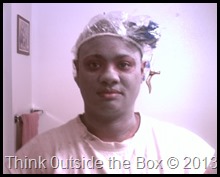
Creature Feature…that’s so not funny. Now I put on my disposable shower cap and wait up to 30 minutes (or as long as my face can stand it). I rinse off the clay from my face. I wish I had discovered this years ago. My face feels amazing after this application. Now I head to the shower to wash all this out of my hair and shower. I don’t use any shampoo after doing this because the clay does all the work. To make sure it’s thoroughly rinsed I follow up with some TRESumme Naturals conditioner and rinse again. My curls are shiny and soft when I finish. Again I’m sorry for not having a pic for that.
All I do now is move on to regular styling. I have been using a homemade curling pudding recipe I love that’s way cheaper (if you have everything on hand) to make than buying some already made up at the store. Here’s the recipe:
12 oz. Fantasia IC Polisher Gel with Olive Oil
5 oz. Shea Butter
1 oz. EVOO
If your Shea Butter is hard you’ll want to warm it up a little to get it soft but not all the way melted. Mix everything together and use for putting in twists or for Wash~n~Gos.

No comments:
Post a Comment