You may be wondering what you need the highlighter for. Many times the expiration date on the manufacture's coupon is hard to see or even find. By highlighting that date you will quickly be able to find it when you need to see if has or about to expire. You don’t want to make the mistake of taking expired coupons to the store and not be able to use it on a good deal you find. Another added benefit is that it’s easy to see through the clear pockets too.
Lets talk about the coupons for a moment. Where are good places to get them? I get mine in the Sunday paper each week. There are different packs like RedPlum, P&G, Smart Source, ect. I have even bought an extra paper just to be able to double on coupons of products I’d like to have more than one of when I come across a good deal. If you know someone who gets the Sunday paper but throws away their coupons, ask and see if they will let you take them off their hands. Other places you can find coupons are store sale ads, magazines, certain sections in the newspaper, inside of or on the front of the package of a product, at the store checkout after paying for your purchase, websites online where you can print them for free, ect. Once I’ve taken all my packs of coupons out of the paper I highlight any coupons that need it and begin cutting them out. I’m not brand specific so I cut out all the coupons for things I know we use or willing to try. Next I separate them into categories so that I can store them in their proper place in my binder. I was happy to have come across an idea of making your own coupon sorting mat. What a neat idea! I will definitely start using this myself.
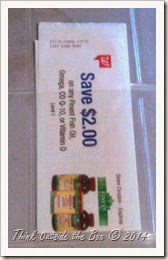
I mentioned last time I put my store coupons in a baseball card holder behind my page protector that holds the store ad. This is an up close look of one of those coupons sitting in the card holder. These would be the coupons I received at checkout. In many coupon policies they allow for store coupons to be used with a manufacture coupon for the same product. This is called “stacking coupons”. You save even more by using them together. I love those kinds of savings. Speaking of savings…majority of the time I only use my coupons when there’s a sale for that particular item. That way I’m not only getting it for the sale price, but I’m saving even more by using coupons with the sale price. You won’t really save much at the store by using coupons alone. Whenever you’re out shopping remember the best way to save is to use those coupons when the items go on sale.
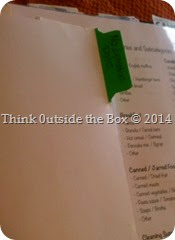
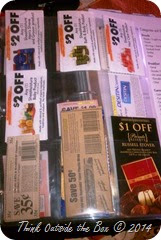
Having categories for all those coupons is a must. Here you see my tab divider for a section I use to store coupons the never expire. In the picture is a baseball card holder with those coupons stored in them. If you look closely you can see that I highlighted the expiration date in order for it to stand out at me.
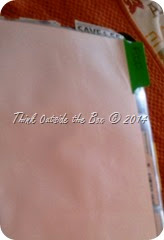
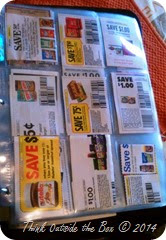
Here I have my tab divider for the food coupons. Behind that are the card holders with coupons in them. I find at times a coupon doesn’t easily fit into a pocket because of its size. Folding it so that the expiration date is showing usually helps. I mentioned last time I wanted to get some photo holders (3 pockets). That would be great to use for storing those oversized or awkward shaped coupons.
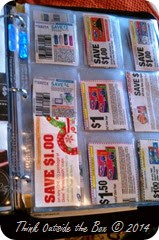
Another example you see here is my "Household Supplies" tab and coupons for those type items. On the left hand bottom side you see a coupon for some paper plates that’s too big. I had to fold it so I could still see the important info. but still able to place it in the pocket. So you see each category gets a tab divider and as many baseball card holders that section needs for the amount of coupons in that category. These are just a few of my many category sections. I plan to redo my sections to match how this lady does hers when I get more page dividers. I like how she uses the plastic dividers verses the paper kind. Those will last much longer. Towards the end of each month I go in and clean out any expired coupons I forgot to take out and move the ones that’s soon to expire in its place. This helps me have room to store more coupons I get.
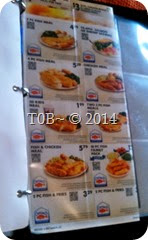
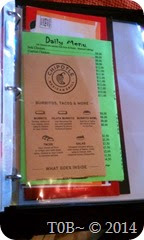
I also wanted to show you this section in the back of my binder. First you see the tab divider for my “Eating Out” section. Next are some coupons that came in the mail that I will cut out and store in the card holders. Last is a page protector where I store menus from places we would like to eat at or get take out food from. This is handy when you want to remember what’s on their menu or their address and phone number.
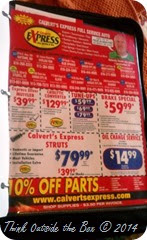
This last part I want to show you is a section for car stuff. I store coupons for repairs and flyers in page protectors for deals off any type maintenance.
Final reminder: Don't let all your hard work go to waist. Take your binder with you every time you go shopping. You never know what kinds of great deals you find. Remember that front section I showed you last time with the big see through (netted) pocket? When I'm out shopping I put the coupons I will be using at checkout in there so that I have them handy to just hand to the cashier before paying for my purchase. This will make getting out of line much quicker. You’ll be glad, the cashier will be glad, and those standing in line behind you will be glad you did. I hope you have enjoyed my coupon binder tutorials and got a better understanding of what it’s all about. For more info. on coupon binders check out some of this website and helpful video:
Frugal Living: How to make a coupon binder
Building a coupon binder

No comments:
Post a Comment